Utilizing Turnitin on Assignments
Step One
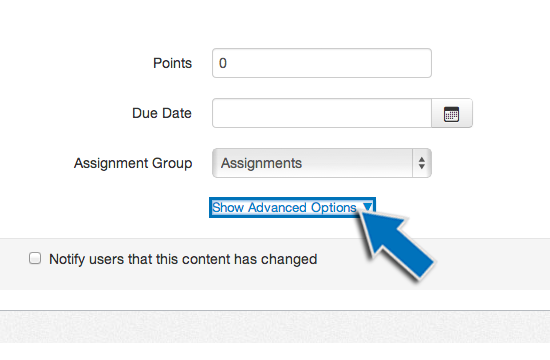
Create an assignment as usual. At the bottom of the assignment’s page you will see an option to show advanced settings. Click on the Show Advanced Options link.
Step Two
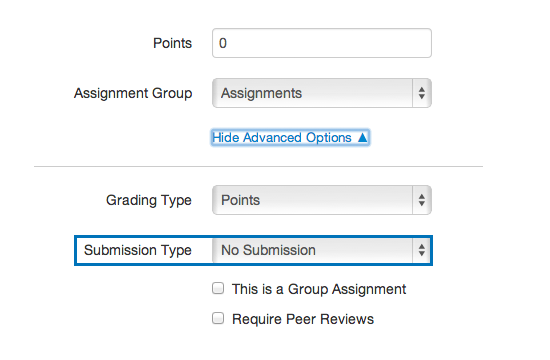
Clicking the advanced option reveals the Submission Type dropdown menu.
Step Three
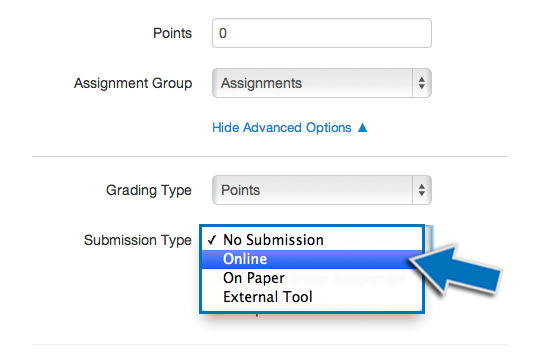
Use the dropdown menu and select Online for the submission type.
Step Four
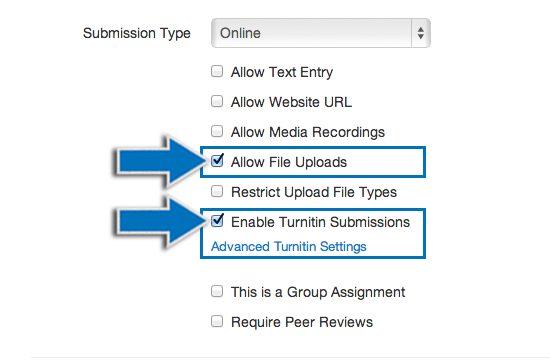
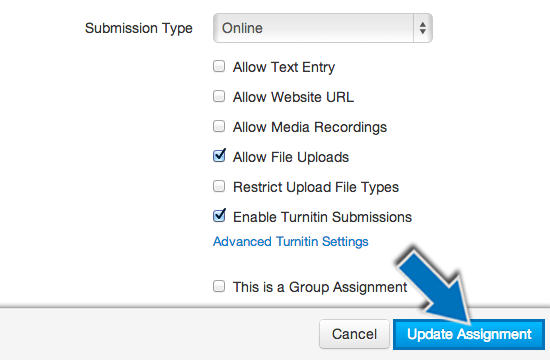
More options are revealed. Select Allow File Uploads and Enable Turnitin Submissions, these are the two essential options needed to use Turnitin.
NOTE: Turnitin accepts the following file types for upload:
- Microsoft Word® (DOC and DOCX)
- Corel WordPerfect®
- Adobe PostScript®
- Plain Text (TXT)
- Rich Text Format (RTF)
- Portable Document Format (PDF)
- HTML
Step Six
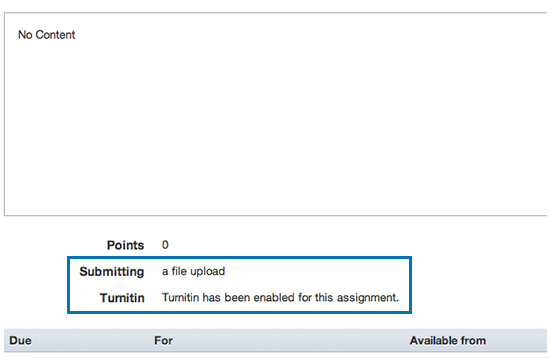
Your assignment was created with Turnitin enabled.
NOTE:The field areas of
Submitting and
Turnitin state that the file upload option was selected and that Turnitin is enabled.
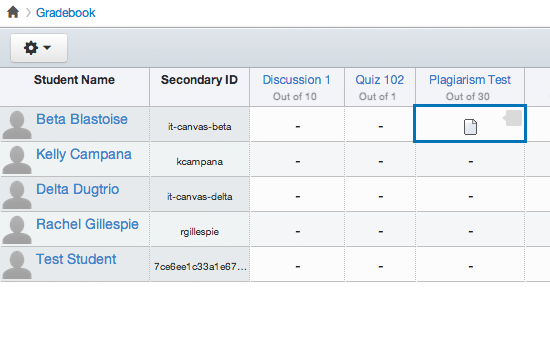
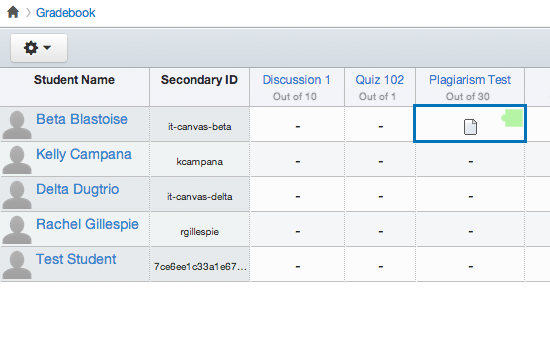
Step Eight
Once the paper has been analyzed, the icon will change to green, click on it to view the originality report.
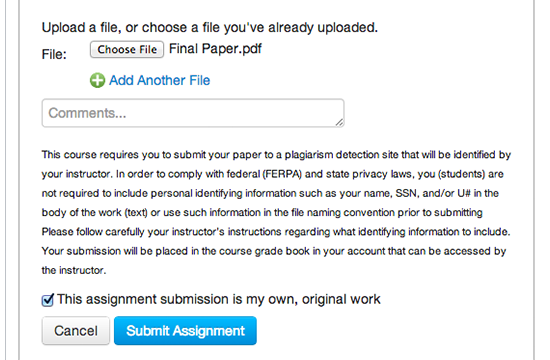
What the Students See
The Submission Screen
Each student will attach his or her file from this screen. This window has a brief legal statement and a check box. The student must affirm the submission is their own, original work before they can submit the assignment.